13 Jun 2017

Assignment 3 - Reflection


 -------- A spectrum of industrial design from furniture design to electrical product --------

A smooth curved form of wooden design can be made by metal of using technique of making torus.


One piece work is possible to achieve by using metal material if making a good template for shaping. 


My model of Torus


Skills of metal shaping helps designer to achieve different materials test during modeling process.


Met the variety when shaping metal gives a better understanding of production of complex product which used metal for main material.


Assignment 3 - Tutorial of Torus


Main Requirements:

- Outline the size
- Rounded notch
- Template of the curve


Step 1: Mark the needed size on the aluminium sheet and cut it out.


Step 2: Bend the sheet to get the rough curve and start with nylon mallet hammer on rounded notch.
 - Start working from the middle of the sheet to two end and use the rounded side of hammer


Step 3: Use the curved bar dolly and flat face metal hammer to create the small curve on two sides.
 - The overall curve can be finalized during using the curved bar dolly.


Step 4: Create template to make the right curve.
 - Someone might feel good to use English wheel in this step in order to create a smoother surface. However, in my opinion, I recommend to create a template, that is the only way to create the exact curve you want. Also, using English wheel, the torus will lost the shape that created from step 3, the English wheel will make torus flat.


Step 5: Use flat metal hammer to smooth and polish the surface. (Final model of torus)


6 Jun 2017

Assignment 2 - Model of Ferrari GTO 250

In the first tutorial of assignment 2, our group decide to make the model sized H 215mm, W 890mm, L 359mm. Than we start to play with different settings of waffling by 123D MAKE until we all happy with the shape and details.


Files exported from 123D MAKE still required more setting in adobe Illustrator in order to go on the laser cutting machine. In fact, we didn't go well for the first cut. The material burned and machine didn't cut through the board.


Laser cutting process starts getting better after we changed the vector setting.


Group members cooperation with the waffle assembly.


After we've done the template and decided into parts. We drew lots to decide who is working on which part. I'm responsible for the rear right.


Start to work on my part!

 Cover the template by tracing paper and draw out the shape.
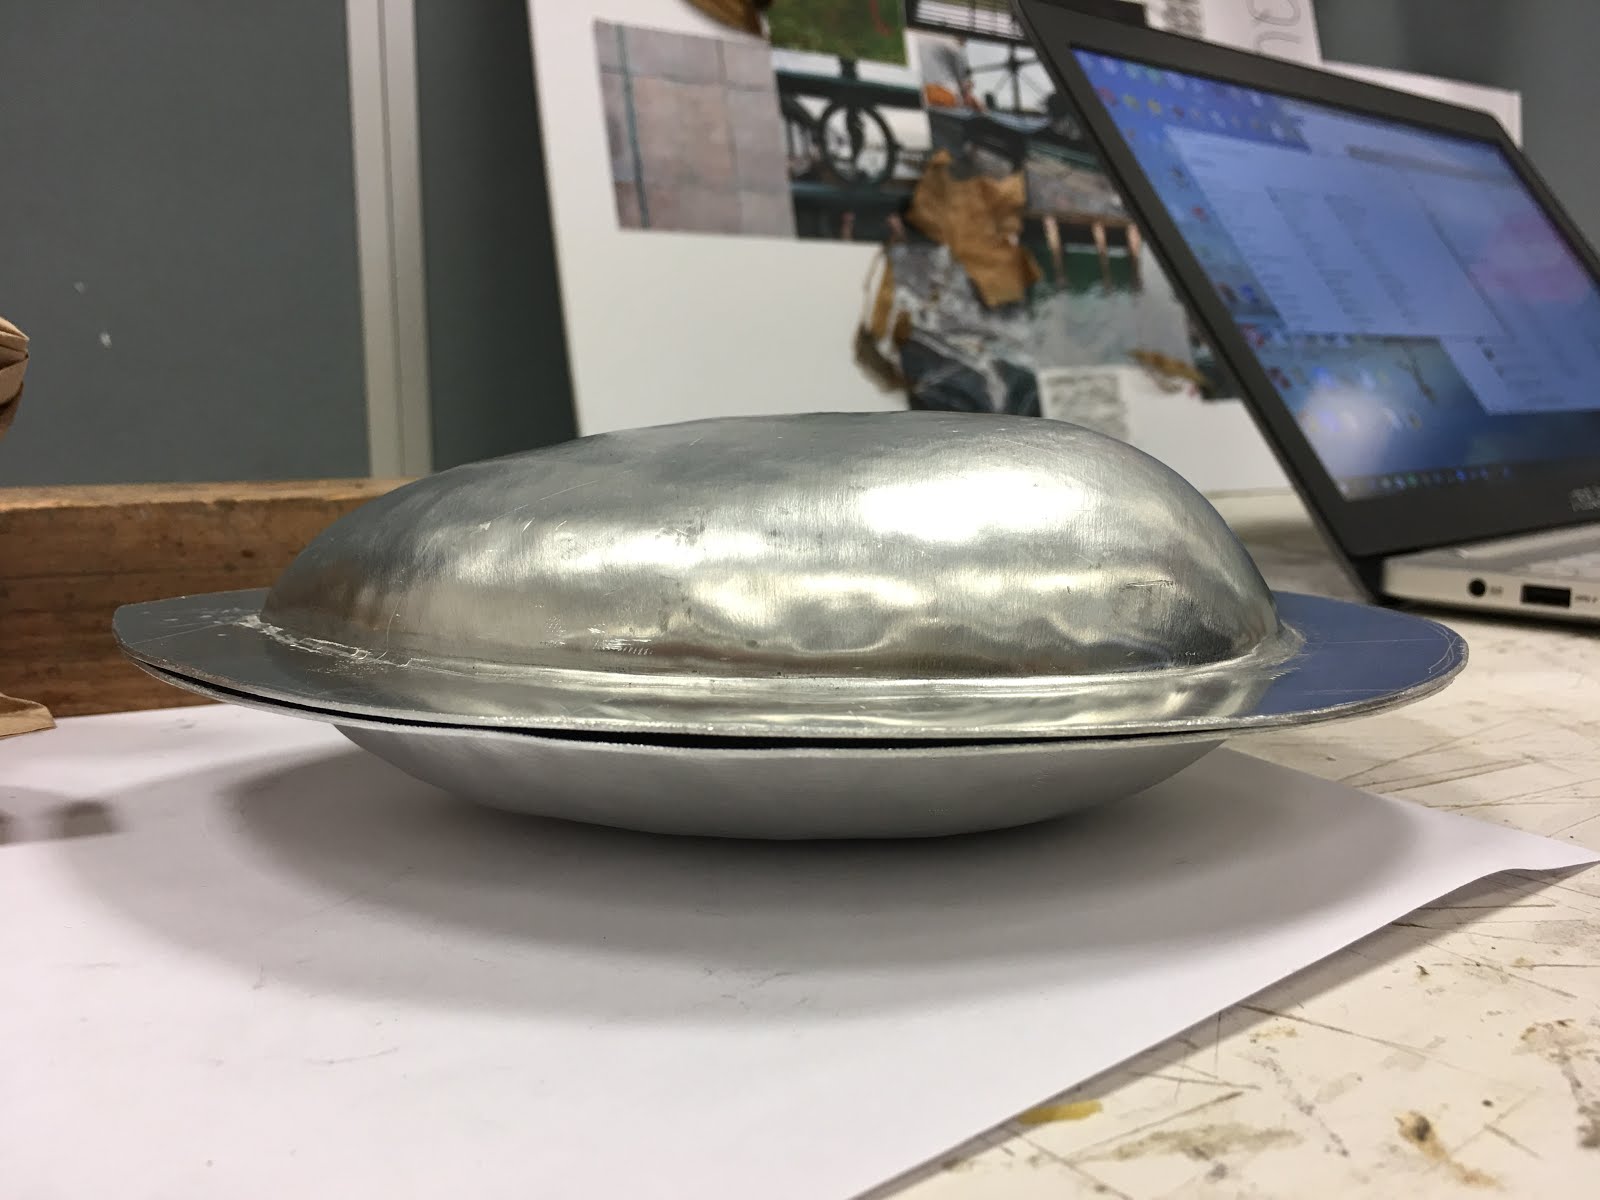
 Copy the shape to the aluminium sheet and cut it out.


Work on overall shape to fit the piece on the template first,
  and than working on the details such as the fold-in of the wheel edge and the curve of rear.


Matching with group members


After adjustments done, we found out that we still need one more detail next to the wheel. During the process of making the depression next to the wheel curve, its much harder than blister because the sheet is not flat anymore. Finally, I made it! 


Our final model!


11 Apr 2017

The blister

The blister

Halfway through


Almost done


Finished blister


Match with group mate